
 |
| Keying circuit |
Here's all the key (hehe) components for this part of the build. The relay I chose is Digikey part number Z147-ND, a DPDT, 8A, 12V relay. This is the same relay that CCI uses in one of their other amplifiers that includes the keying circuit, so I knew it would work in this application. The rest of the parts are generally generic parts and 1/4W resistors. The 2n4401 and 1n4007 are staples in the junk box so I got several of both. Resistors came from the junk box. Most amplifiers use an RCA jack for the keyline input but LA3PNA suggested I just use a 3.5mm stereo phone jack instead since I have some on hand already and panel mount RCA jacks are at least a couple dollars. Finally, I had to piece together a cable with 2.5mm plug on one end and 3.5mm on the other. The 2.5mm plug was a calculator cloning cable in a previous life and the other end of it serves as the KX3 I/Q output cable. So this should be enough to get this piece of the amp running.
Here's the board all wired up. Proto boards are much nicer than trying to smash everything ugly style on a piece of copper!


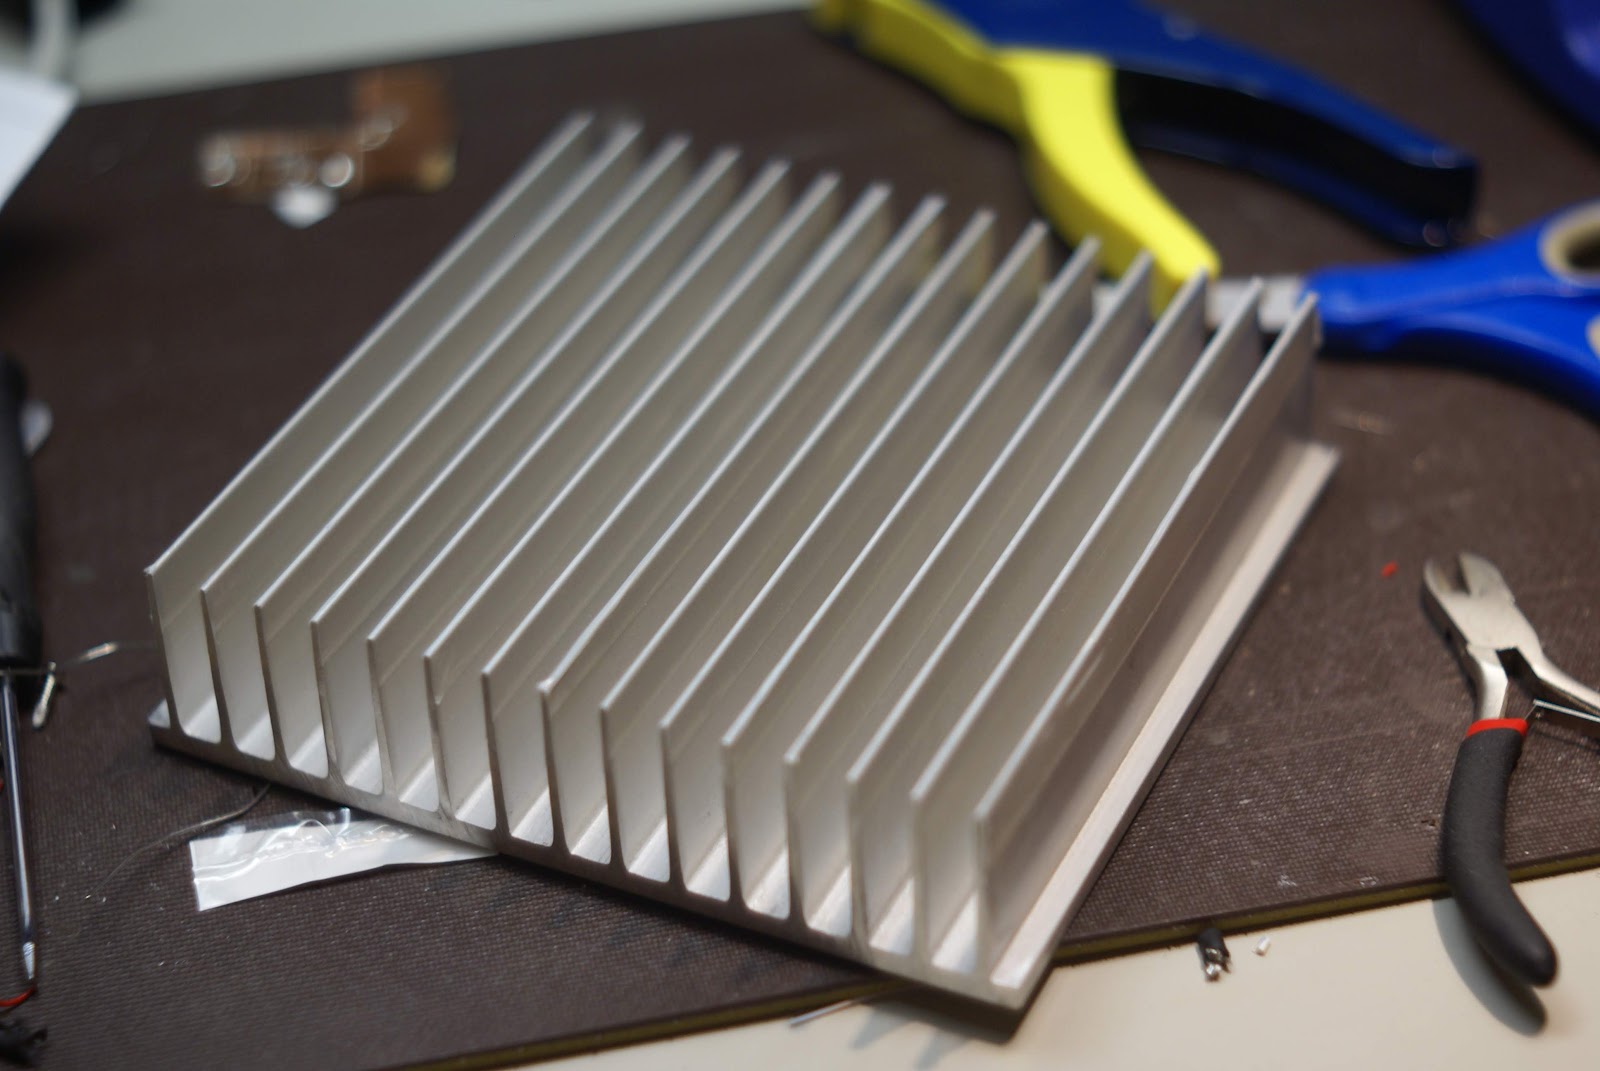
I also got lucky and another helpful ham you may remember, NM0S, Dave, found a heatsink for me to use. He thinks its a bit big but it looks perfect to me. I don't plan on cutting it down or anything. I think its about 8 inches square and the fins are about 2 inches tall. I could probably run RTTY at 100w for a while with this one!
Next step: build the amp board, which hopefully will be here on Saturday. Check back for that! Unfortunately I won't be able to complete the build on the amp board until I drill and tap the heatsink, so no on air testing this weekend.
No comments:
Post a Comment
Note: Only a member of this blog may post a comment.